Most of the math we do answers the question “How much?” Counting, operations, and, yes, all measurements too. How long? How wide? Heavy? Hot? How much of each of these attributes: length, weight, height, capacity, time, temperature? Kids like to measure because it’s very hands-on and a very practical, real-life skill. Things are always being measured all around them, and they themselves even get measured in terms of weight and height, and sometimes even their temperature. So, they’re interested. Here are some great games and activities to capitalize on that interest and motivate some great learning even more.
1. Measurement vocabulary cards
Vocabulary is actually a big part of math learning. In measurement learning, there’s a lot of vocabulary particularly regarding comparisons—words like “longer,” “shorter,” “longest,” “shortest,” “heavier,” “lighter,” and so on.
Brainstorm with your class about some words we use when measuring. Chart these words or write them on the board. Create vocabulary cards on card stock using these words and others you feel are important. As you build this set, take time to play a simple game. Put the words in a bag and have a student pick one out with eyes closed. Have them read the word and then use it in a sentence to demonstrate understanding. They can even use manipulatives to demonstrate it.
2. Measuring Penny
It’s always fun for everybody to do a read-aloud in math class. Measuring Penny by Loreen Leedy is a recommended book for this purpose. In this story, a young girl measures her dog, Penny, in as many ways as she can. After reading the story, ask the class to do the same thing Lisa did. Find something at home and measure it every way you can think of. Bring the findings back to class the next day and share.
3. LEGO bricks for nonstandard measurement
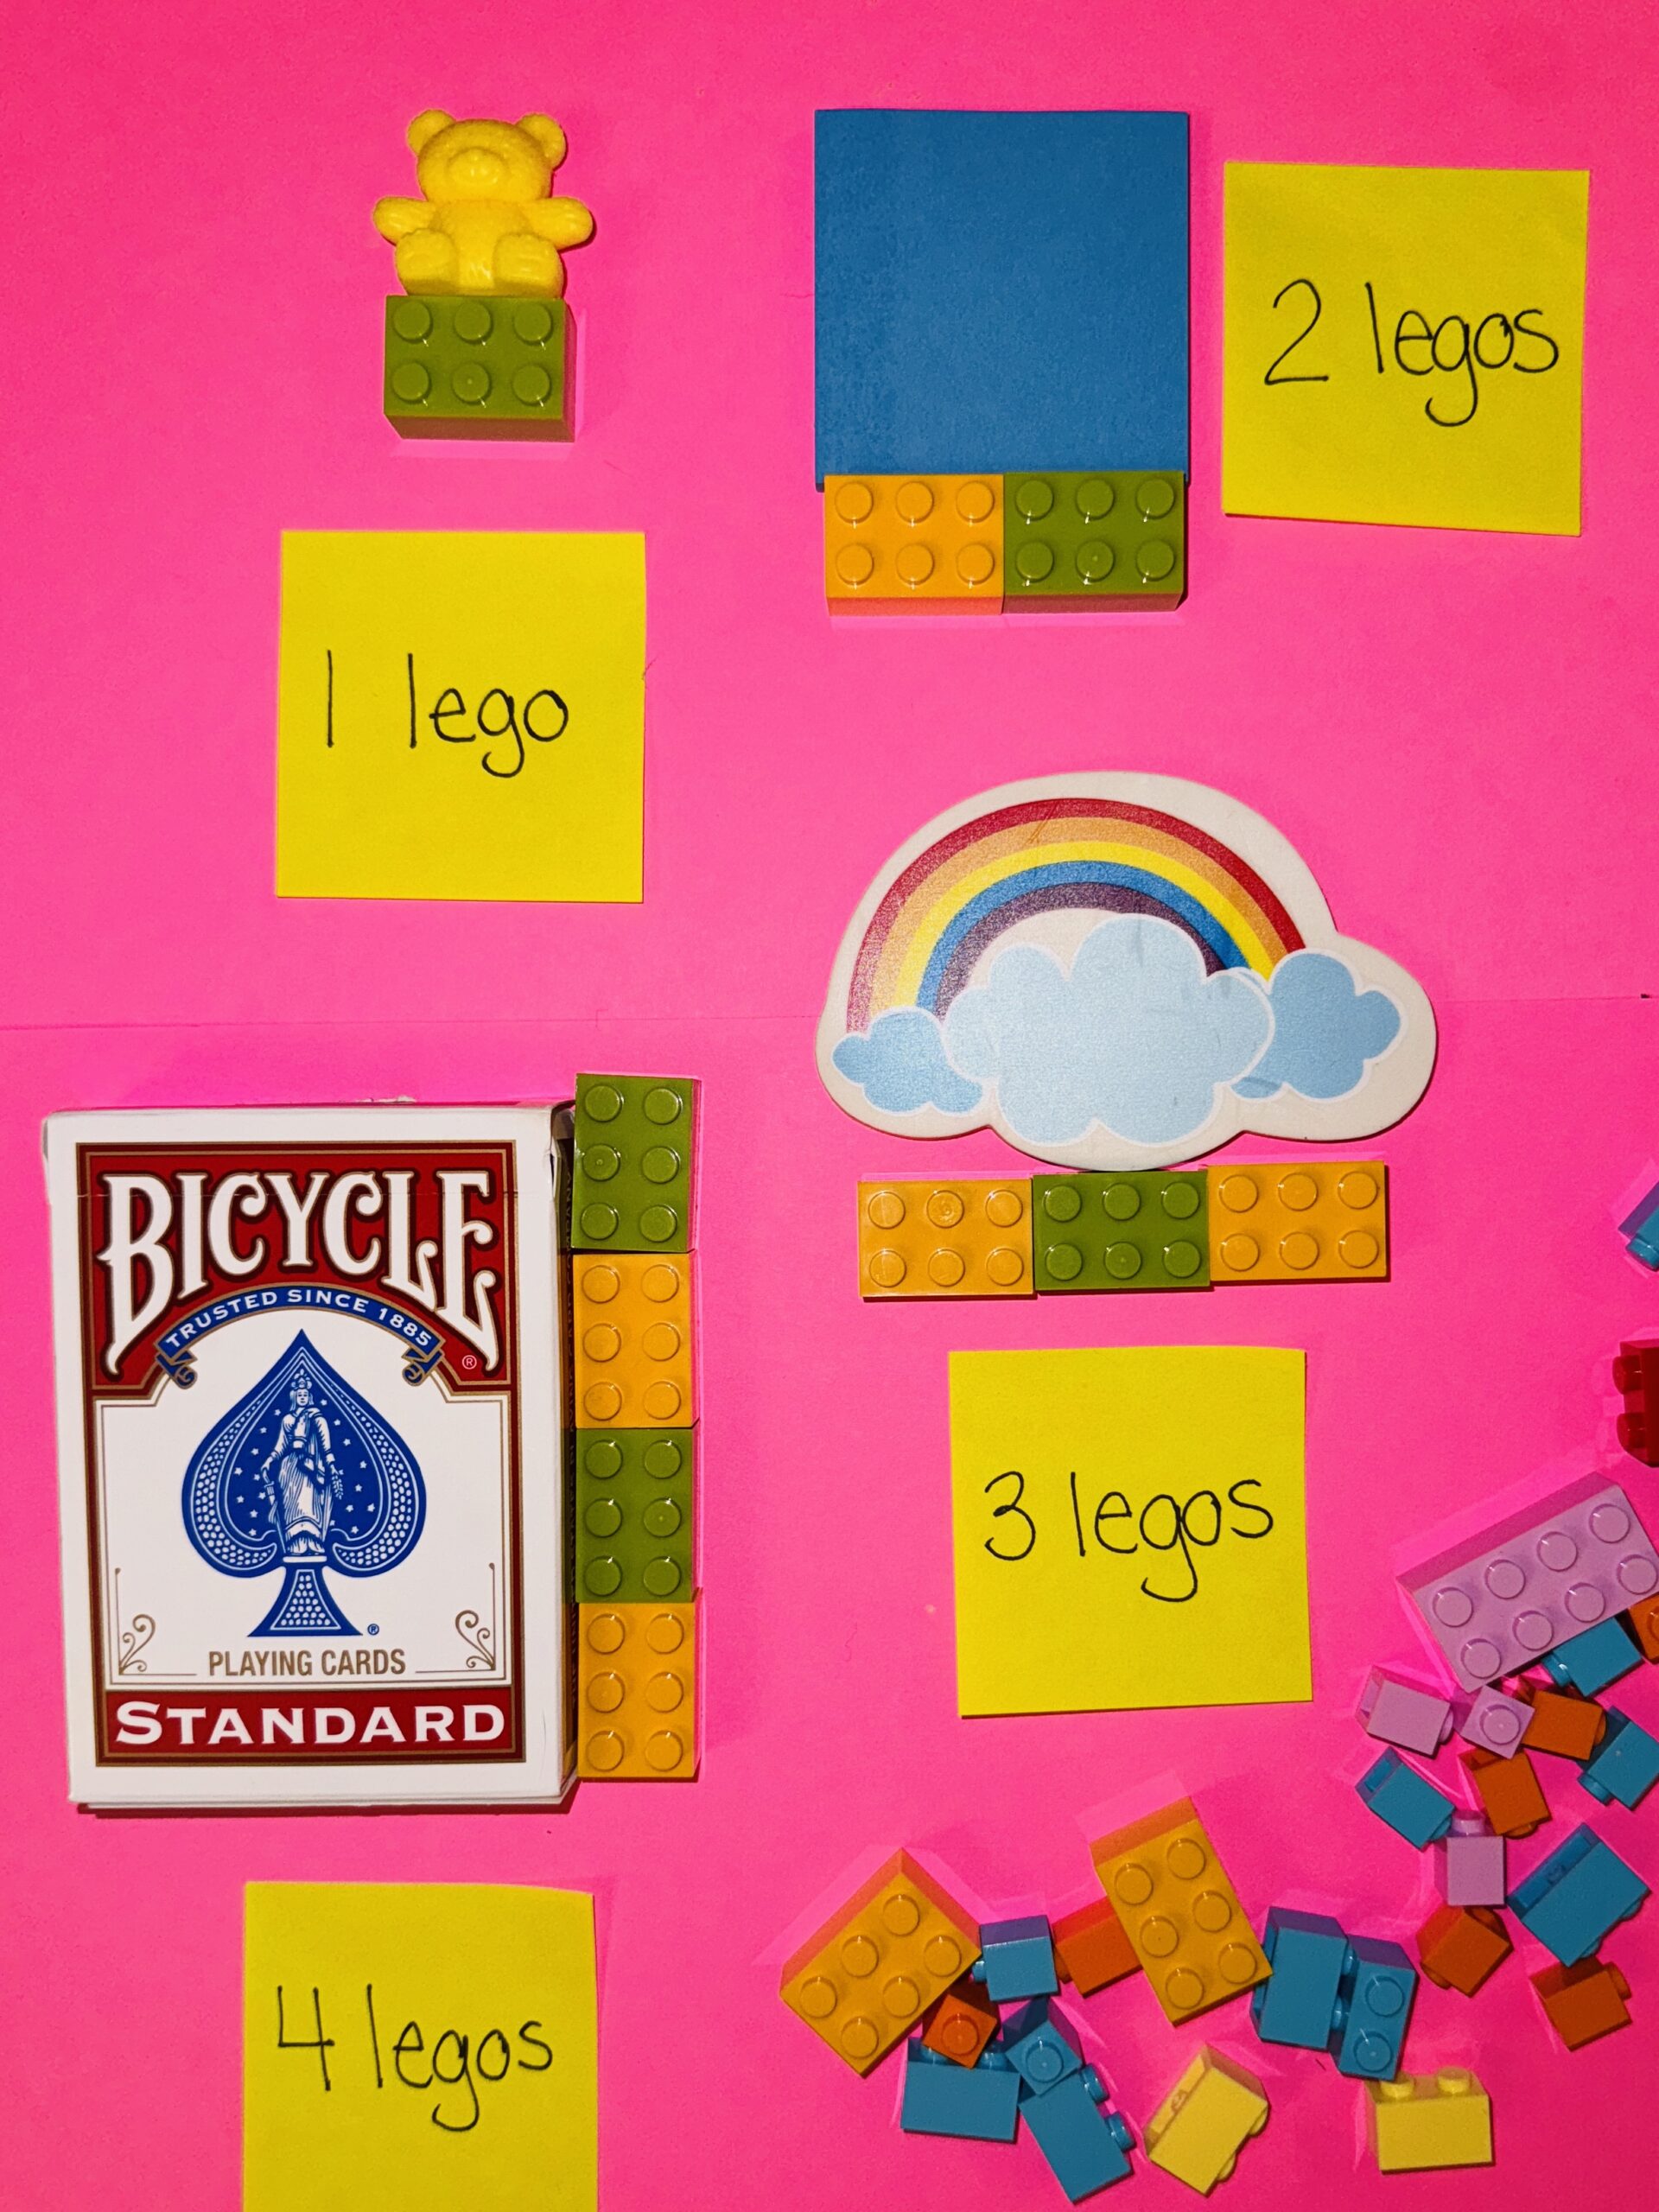
Nonstandard measurement is a good way to start measurement with young learners. LEGO bricks are super motivating, so you can’t lose with these. Provide students with a set of small plastic toys like dinosaurs, cars, boats, etc. Have students pick out five to take to their desks and measure with the LEGO bricks, which are the measurement units. (Demonstrate how to do this.) Then students should write their measurement answer down on a small piece of paper and put it next to the object.
4. Measuring feet (standard and nonstandard)
Give students a piece of card stock and have a partner help them trace their foot and then write their name on it. This becomes the measuring tool. The unit is “my feet.” Assign students the same five things around the room to measure in “my feet,” including things like a rug, a table, a chalkboard, sink, door, and other larger items.
Take turns sending kids to measure, and then have them write their results on a piece of paper and share back. They will soon notice how not all “my feet” are the same length and answers will differ. This sets the stage for why we need standardized measurement. You can also read aloud the book How Big Is a Foot? by Rolf Myller, which tells a similar tale.
5. Yarn height measures
Partner up students and give them about a 12-foot length of yarn. Partners measure each other with the yarn, cutting off a piece for each partner that is the same length as they are tall. On a bulletin board, tack each piece with a small sign under the yarn with the person’s name. Compare them, and use comparative language to describe the comparison.
If you are concerned about kids’ feelings about being tall or short, have students bring in stuffed animals instead to do the same activity.
6. Paper clip measuring
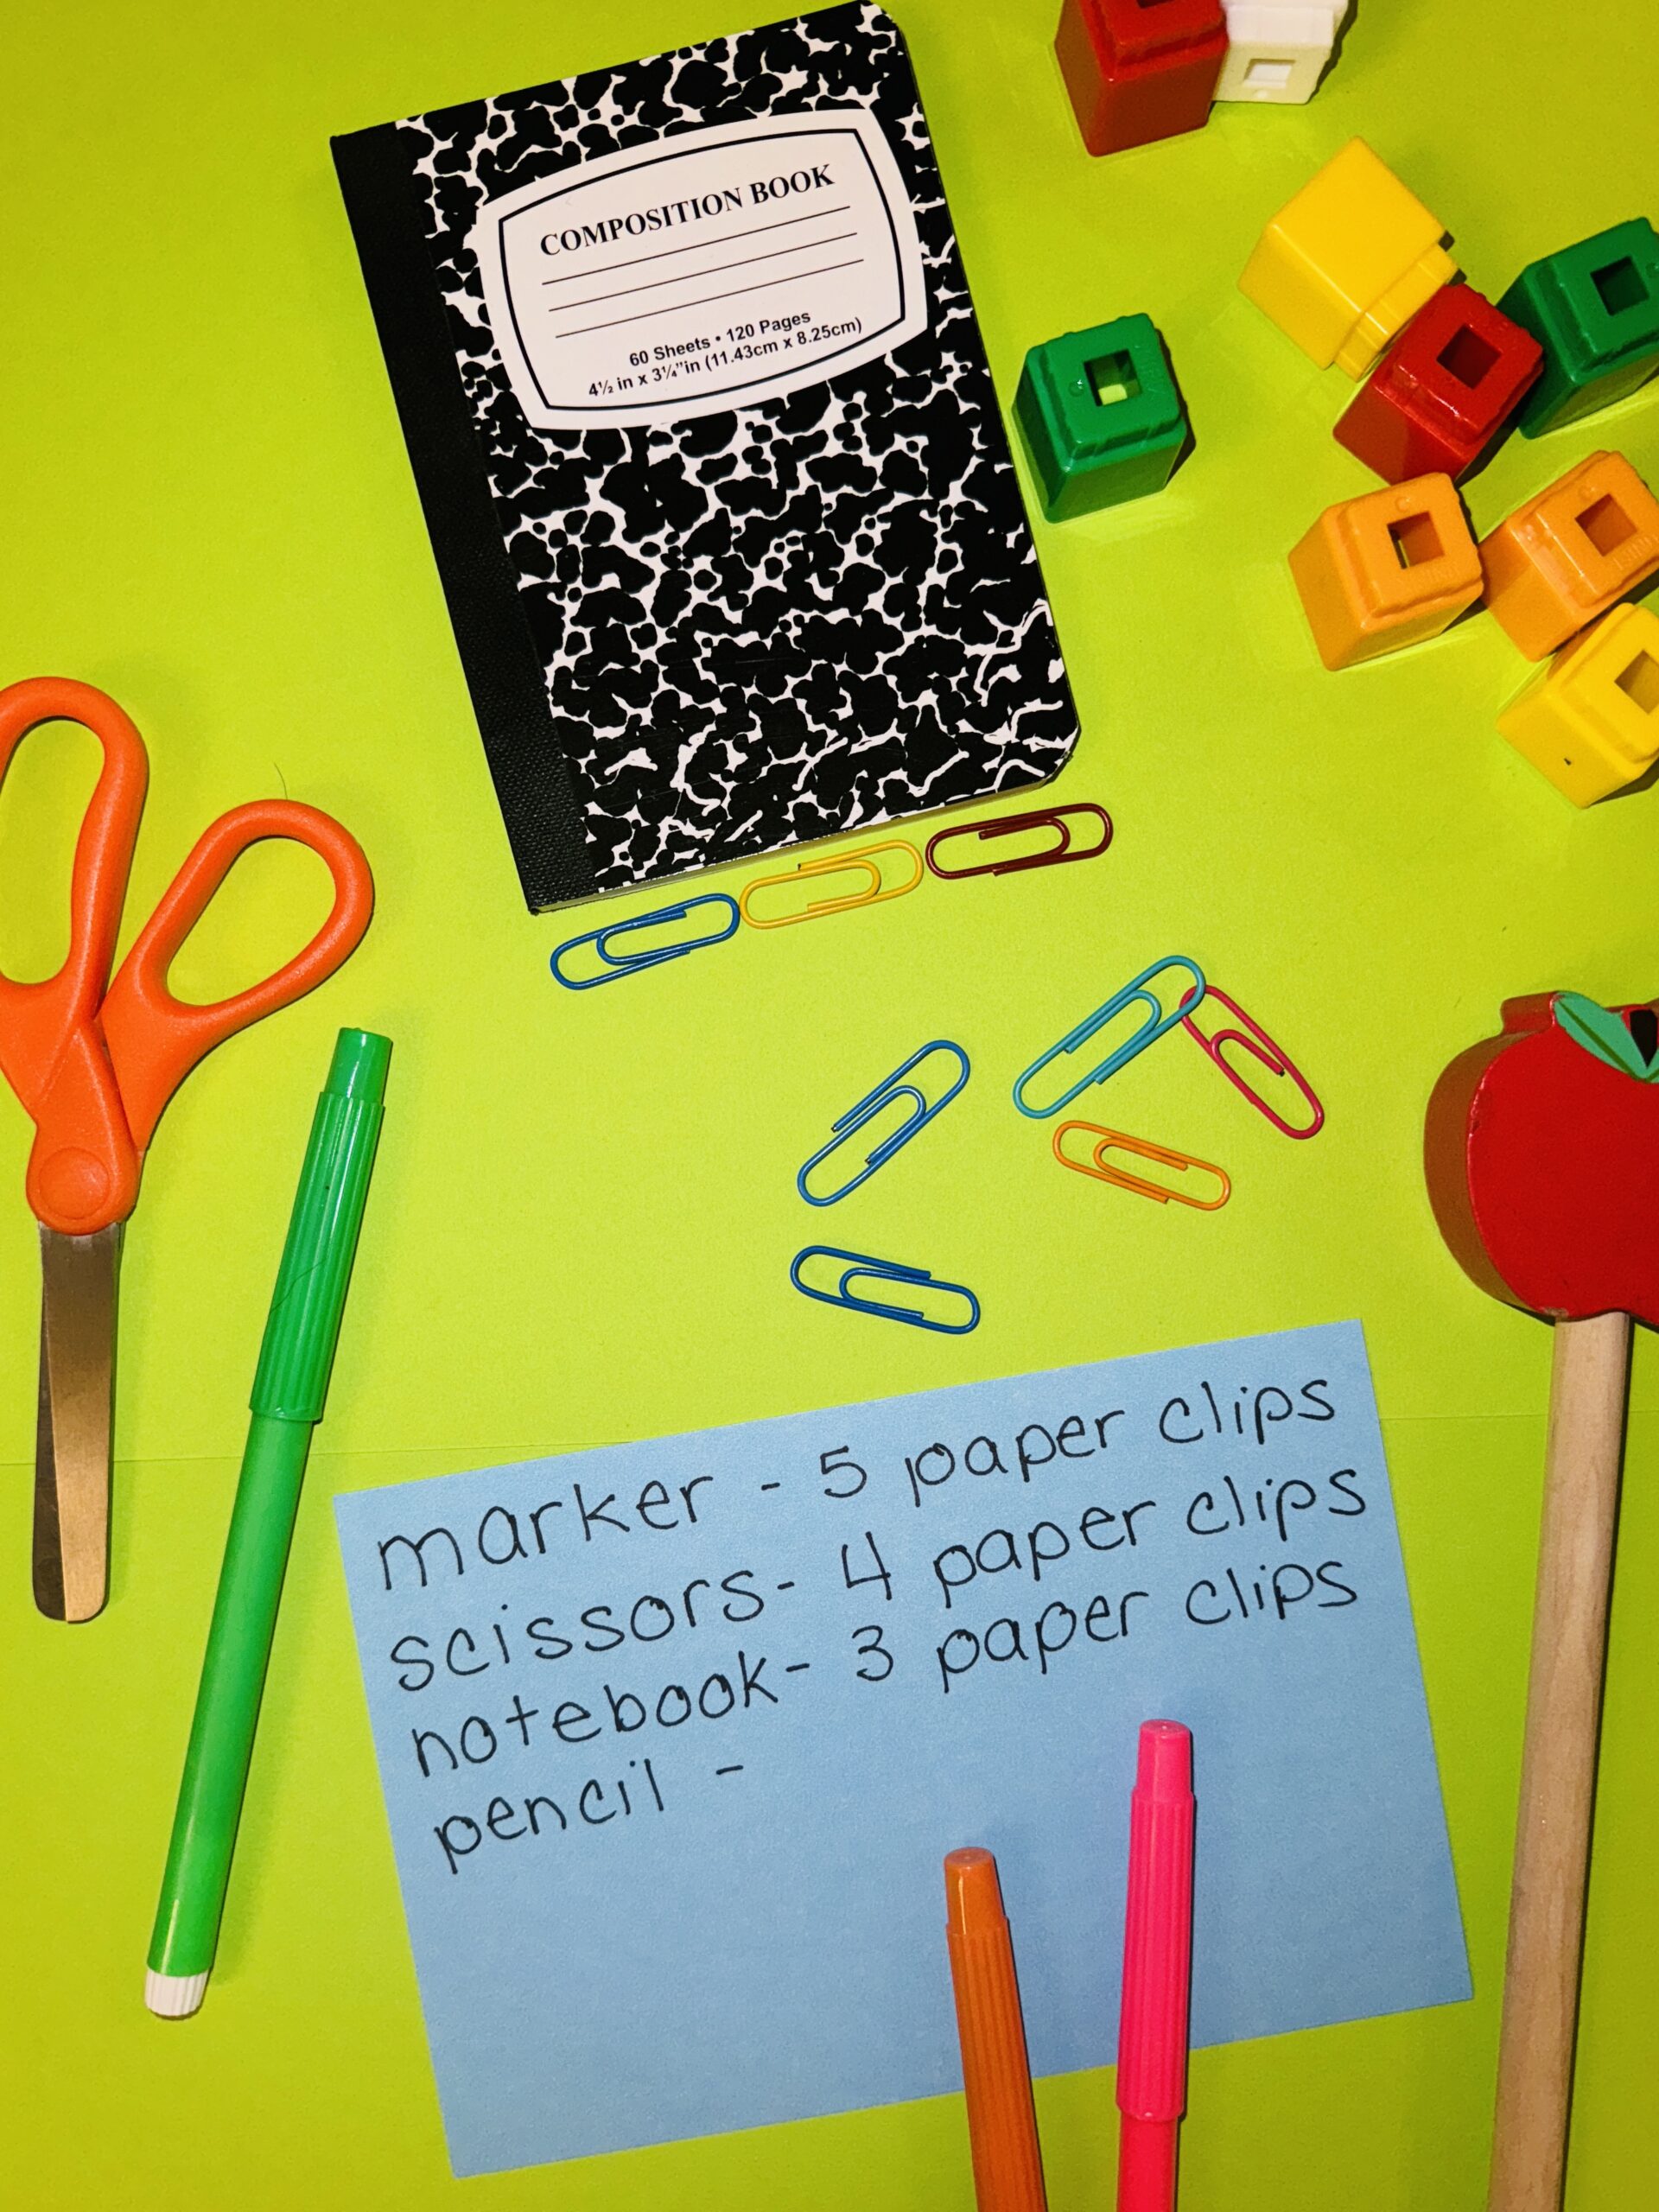
Paper clips are a great nonstandard measuring unit. Have students use these to measure objects in their desks like pencils, crayons, erasers, books, paper, and so on. They should record their findings on a piece of paper and then share back orally with the class. It is always interesting to hear the differences in pencil lengths as they vary a LOT!
7. Estimating and measuring heights
How many inches tall do you think you are? Have kids answer this question, first with an estimation. Emphasize that an estimate is a “thinking guess” and that it does not have to be exact. Then introduce students to yardsticks and measuring tapes as math tools we use to measure longer things. A ruler is good for smaller objects, but these new tools are easier for things like people or furniture or even rooms. Have partners work together to help each other find out their heights. Let them try it with both a yardstick (or meter stick) and a measuring tape. Record answers and share back.
8. Cityscape buildings
Give students a large piece of dark construction paper and some colored chalk. Have them draw a city skyline on their paper. When completed, ask them to measure each building and write its height somewhere on the building. Ask comparative measurement questions like, “Which is tallest? Which is shortest? Is this one shorter than that one?”
You can try this outside on the playground for bigger measurements.
9. Jumps with measuring tapes
Standing broad jump is a tough event, but kids like it. Put a starting tape mark on the floor and have students stand behind the tape mark. One at a time, they do the broad jump. A partner then measures the jump and records it. Tape measures work well for this. They switch places and do the same thing. You can alter this by having kids do a one-legged jump, a jump with two feet together, or if you have room, a running jump. Record them all.
10. Balance scale hanger
This is great for introducing the idea of measuring weight to kids. The earliest weighing we do is with our hands, and a great way to find out which item is heavier than another is to put one item in one hand and one in the other. This is kind of how a balance scale works. To make a simple balance scale, get a hanger with the notches cut in for straps. Tie two pieces of string to a plastic cup and suspend it from the hanger notch. Do both sides of the hanger. Now hang this measurement device from a pole or a door handle. Have students put items in the cups to compare their weights.
11. Hit the pool
Can we measure liquid? Yes we can! Have students bring in various measuring tools for liquid like measuring cups as well as empty liquid containers like plastic juice or soda bottles. Prepare an area outside to experiment with these by bringing in an old kiddie pool and filling it halfway with water. Let students compare how much liquid each container will hold. Have one standardized container that you can have them pour liquid into from their containers to determine accurate measures.
12. Measurement hunt
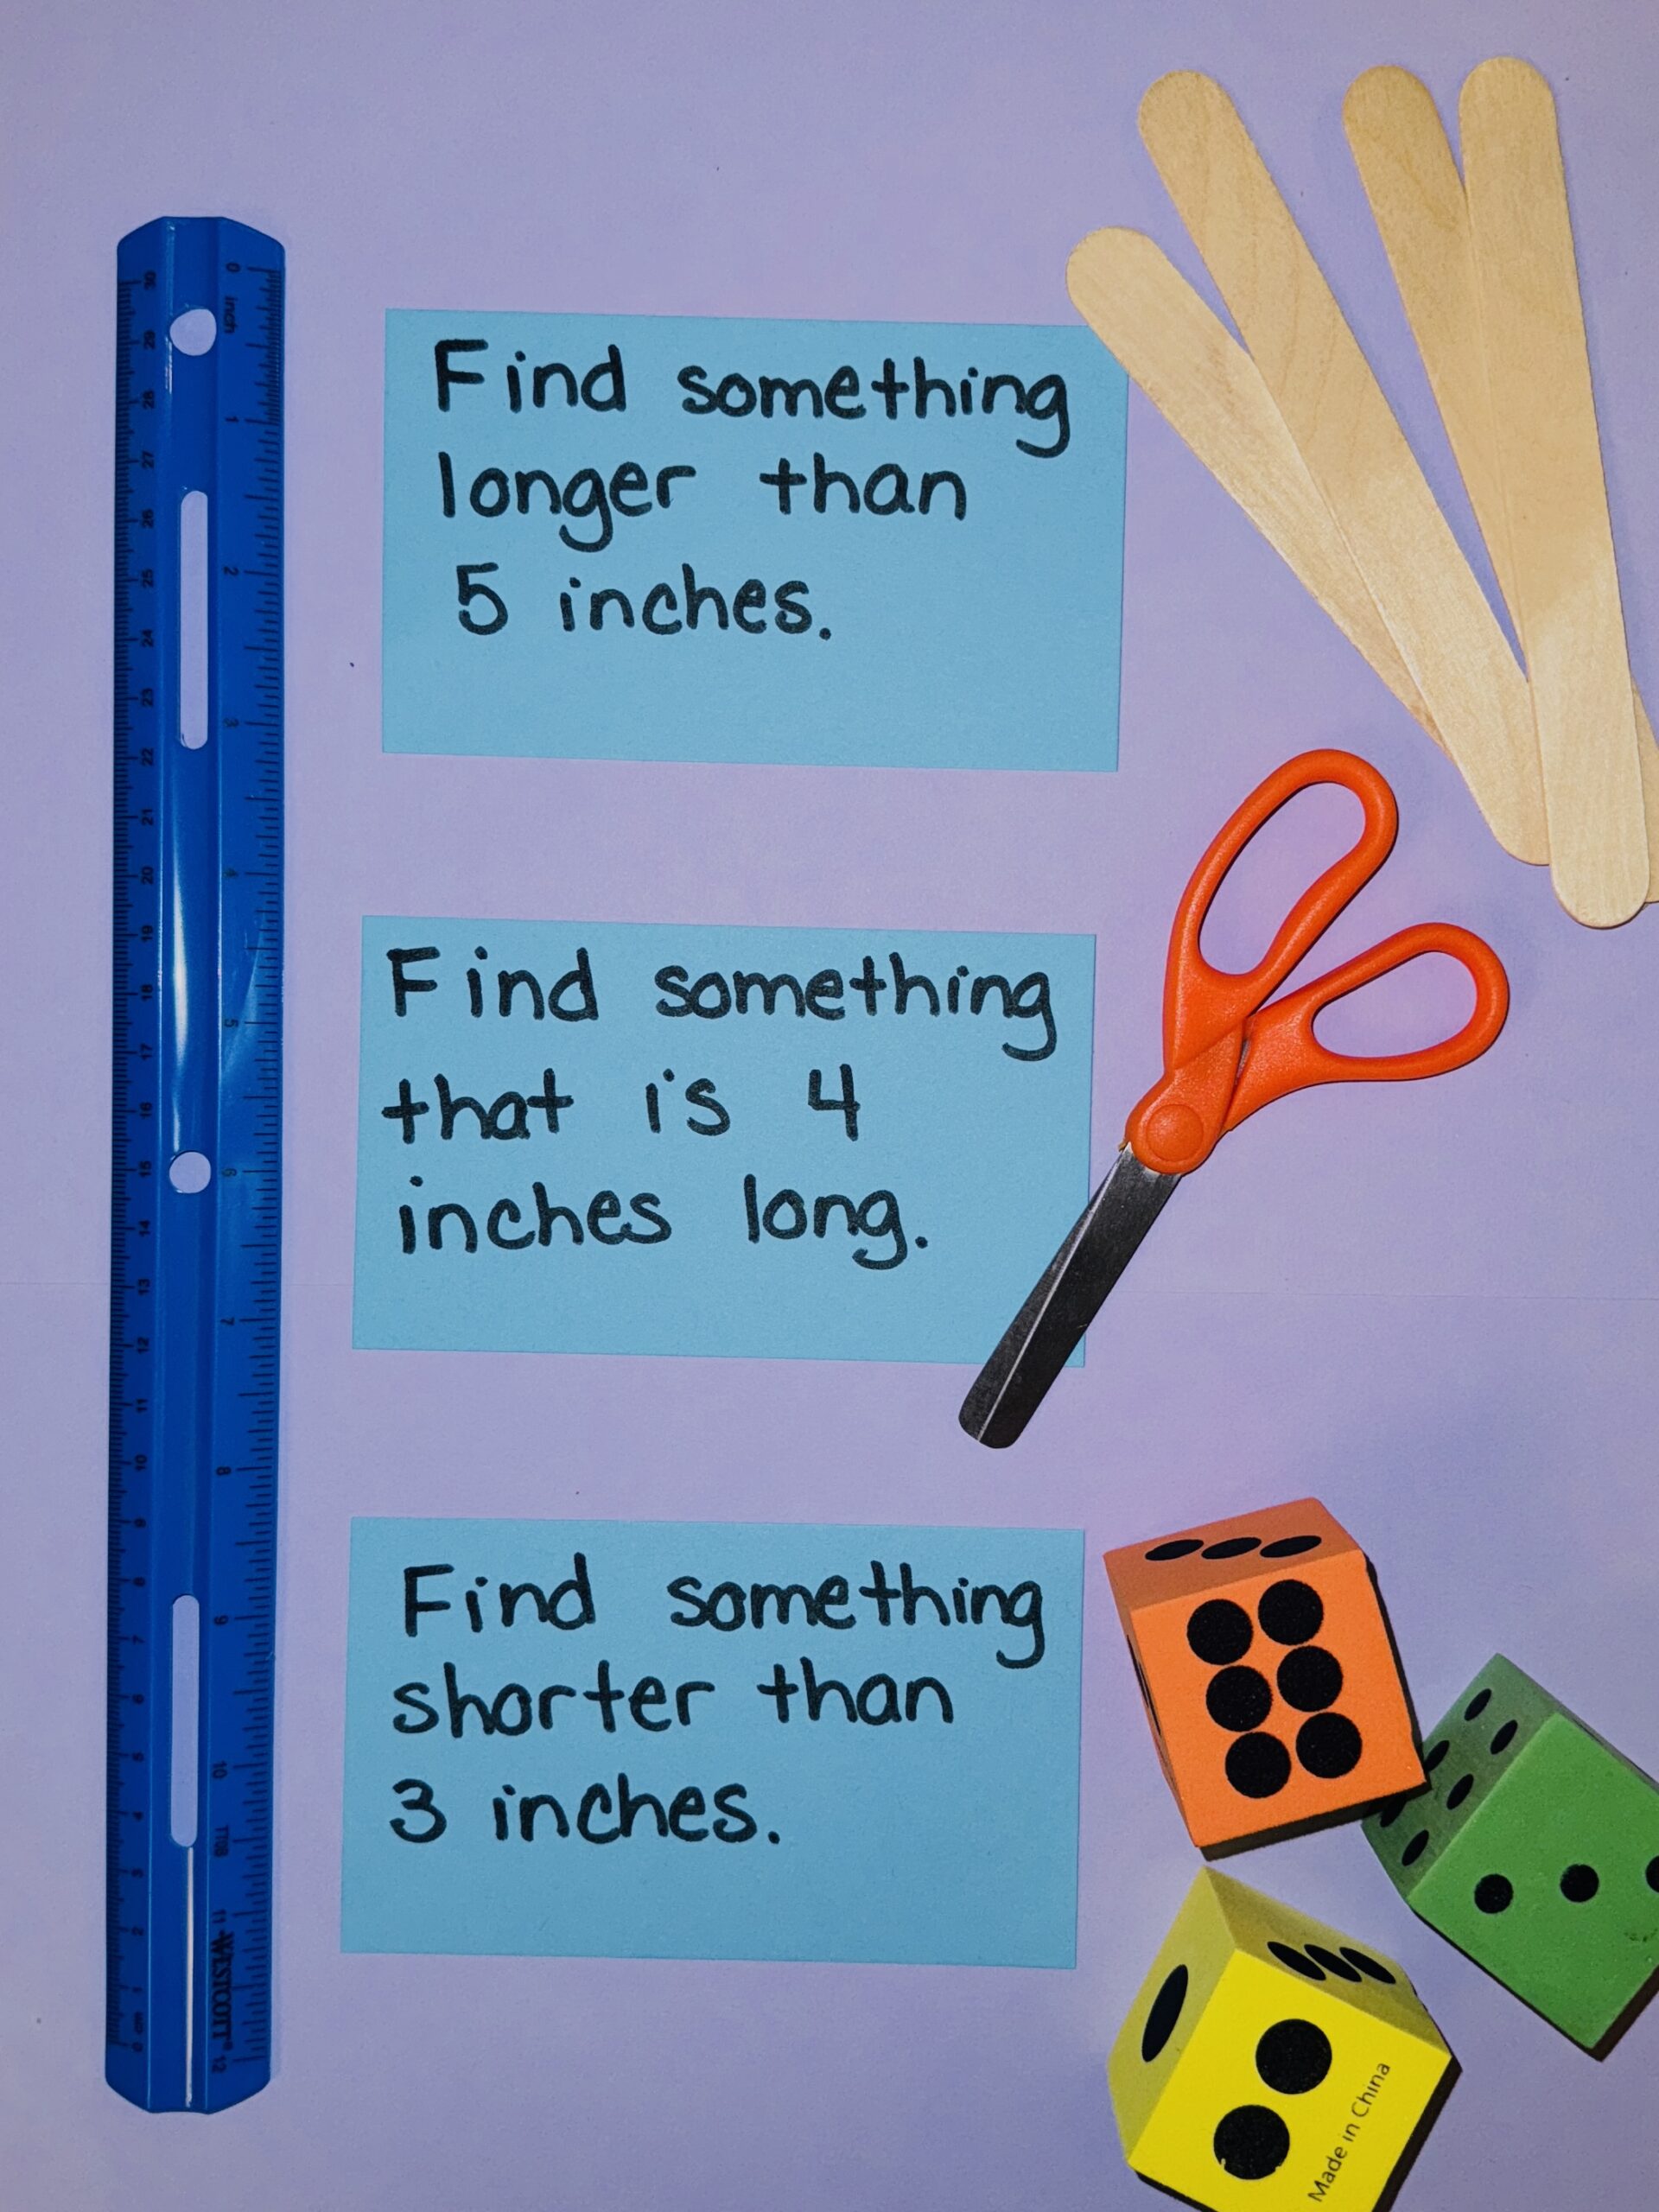
Make some measurement hunt cards by writing prompts on a set of index cards. Prompts could be things like “Find something that is 3 inches long” or “Find something longer than 5 inches.” Students pick a card out of a bag, grab a measuring tool, and head off in search of an object. When they find one that works, they bring it back to you, prove that it meets the criteria, then pick a new card and head off on the hunt again.
13. Weight, Weight, Don’t Tell Me
Bring in a kitchen scale or buy a plastic one. Show students how the scale works with a book. Then invite them to select a book of their choice from around the room. Before they come up to take a turn weighing it, they should estimate its weight. Then check on the scale. Emphasize the idea that estimates are not exact—they’re “thinking guesses.” Which book was the heaviest? The lightest? Can you put them in order from lightest to heaviest?
14. Measuring perimeter with chocolate kisses
Perimeter is more fun when you use candy units to measure, like chocolate kisses. Have students measure the perimeter of some smaller rectangular objects from around the room like a box of crayons or a pencil case. First, ask for an estimate, then have partners share a bag and do their measuring.
15. Perimeter labs
Give small groups a box of rectangular objects like books, tissue boxes, pamphlets, maps, and the like. Create several boxes and mark each one with a letter. Include rulers in the box too. Each box should have different items. Have a group take a piece of lined paper, write the letter of the box, list each object, find its perimeter, and record it. Then trade boxes with another group and keep it going.
You can expand this to do area as well.
16. Cheez-It area
Give small groups a box of Cheez-Its and a napkin. Those Cheez-Its are perfect little tiling squares. Give each group a perimeter. Ask them to build the perimeter with Cheez-Its and determine the area. Now take a stack of index cards and write a different perimeter or area on each one. Have groups select cards and try to build each one, then trade with other groups. Finally, eat the Cheez-Its!
17. Time and temperature chart
Let students take turns filling in a daily Time and Temperature chart. Explain that both are measurements of things we can really see. Provide a thermometer or have one outside the room on an exterior wall. Partners go outside. One reads the thermometer. The other records the date, time, and temperature. They come in and report back to the class. Two more students do it at noon and two more again later in the afternoon. It’s fun to save this data in a three-ring binder and keep track throughout the year. It also makes a great graph when you want to get into data displays.
18. Measurement card scramble
Give each student a piece of card stock and have them divide it into three equal parts. In the first part they should write the name of an item, like a shoe or a refrigerator. In the second box they should write what tool they would use to measure it, and in the third box the units of measure. For example, you might put “lamp” in the first box, “bathroom scale” in the second, and “pounds” in the third box.
Students cut the card into the three pieces and mark the back of each with their initials. Each student makes a card, and then you can put the cards on the floor in a big scramble. Then have the class try to put the cards back together. You can do a set of cards for each type of measurement—weight, length, capacity, etc.
19. Play-Doh pipe cleaner flowers

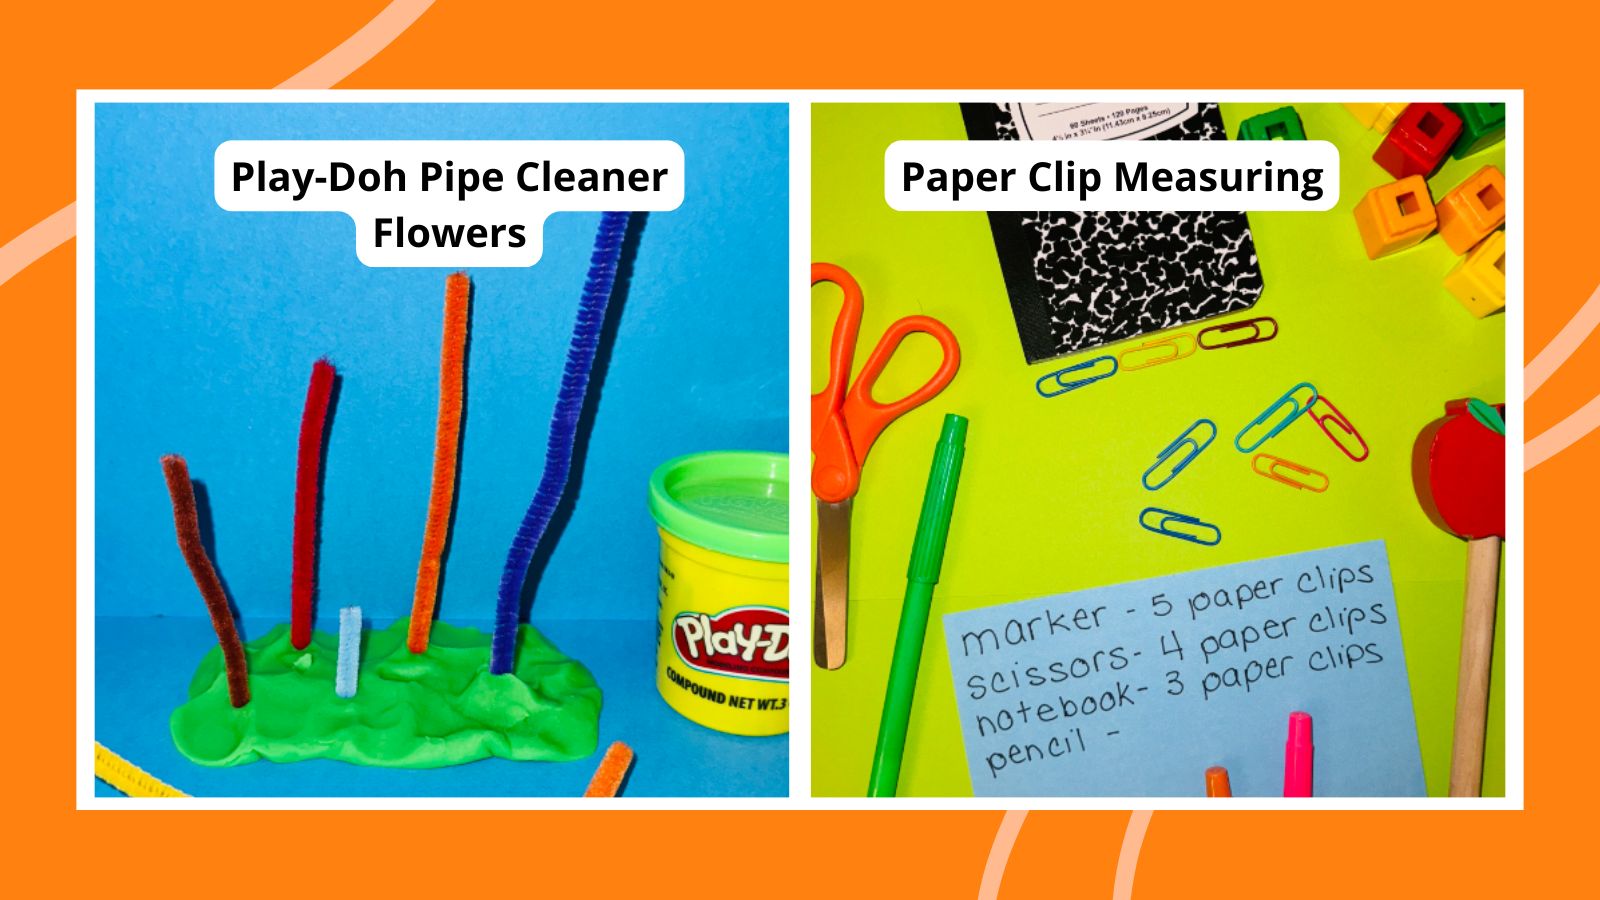
A little art and measurement go nicely together for preschoolers with this activity. Give each student some green play dough and different-colored pipe cleaners. Have them make five pipe cleaner flowers. Then “plant” them in the green play dough garden from shortest to tallest. Ask measurement comparison vocabulary questions about their garden like “Which is the tallest? Which is the shortest? Is the first one taller than the second one?” Then display these on a table for all to see.
20. Capacity investigation
Capacity is really how much space something takes up. To investigate this idea, bring in a variety of measuring cups and spoons and some colored sand. Give each partner group a medium-size cardboard box to work over to keep sand off the floor, or do the activity outside. This is very motivating stuff. Have them see if they can experiment and find how units of measure on these measurement tools relate to one another and record these findings.
21. Balance scale comparisons
You can find inexpensive plastic balance scales that are great for kids to use in hands-on exploration of weight. Use Unifix Cubes as your nonstandard units of measure. Place a small object like an eraser in one pan of the balance. In the other pan, add a cube. Then another. Keep adding cubes until the pans balance. Point out to kids how the pans balance when the weight is the same in both pans. If the pan with the eraser balances with four cubes in the other pan, the eraser weighs four cubes.
Have students take turns weighing objects of their choice and writing their results on the board with the name of the object and the weight in cubes.
22. Temperature readings around the school
Bring in a thermometer and show students how to read it, pointing out how it is basically a vertical number line. Have students read it and write down the temperature, which is basically the air temperature in the room.
Now bring out an ice bucket with cold water and ice. Ask students to estimate what the new temperature will be. Then plunge it into the water and wait five minutes. Read the new temperature and record it on the board. Ask students to brainstorm how it is helpful to measure temperature. Record these ideas on the board. Then send students out during the day in pairs to measure the air temperature in different parts of the building like the gym, cafeteria, or front office. Report back and record on the chart.
23. Metric- vs. American-length insects
Give students a ruler that has both metric and standard U.S. measurements. On a piece of paper, have them draw a 1-inch-long worm. An “inchworm” so to speak. Now have them measure the same worm in centimeters and record that. Explain that they should draw three more insects on the paper and do the same thing. Measure with inches first and then measure again using centimeters.
24. Body measurements
Did you know most people are eight of their own heads tall? Or that the leg is usually about four times the length of the head? It’s often smaller for kids though. Partner students up and have them use yarn and a yardstick to experiment and see if they can find other relationships (ratios) between parts of their bodies. Hands and heads are a good place to start. Have them record what they find and share back.
25. Pipe cleaner snips
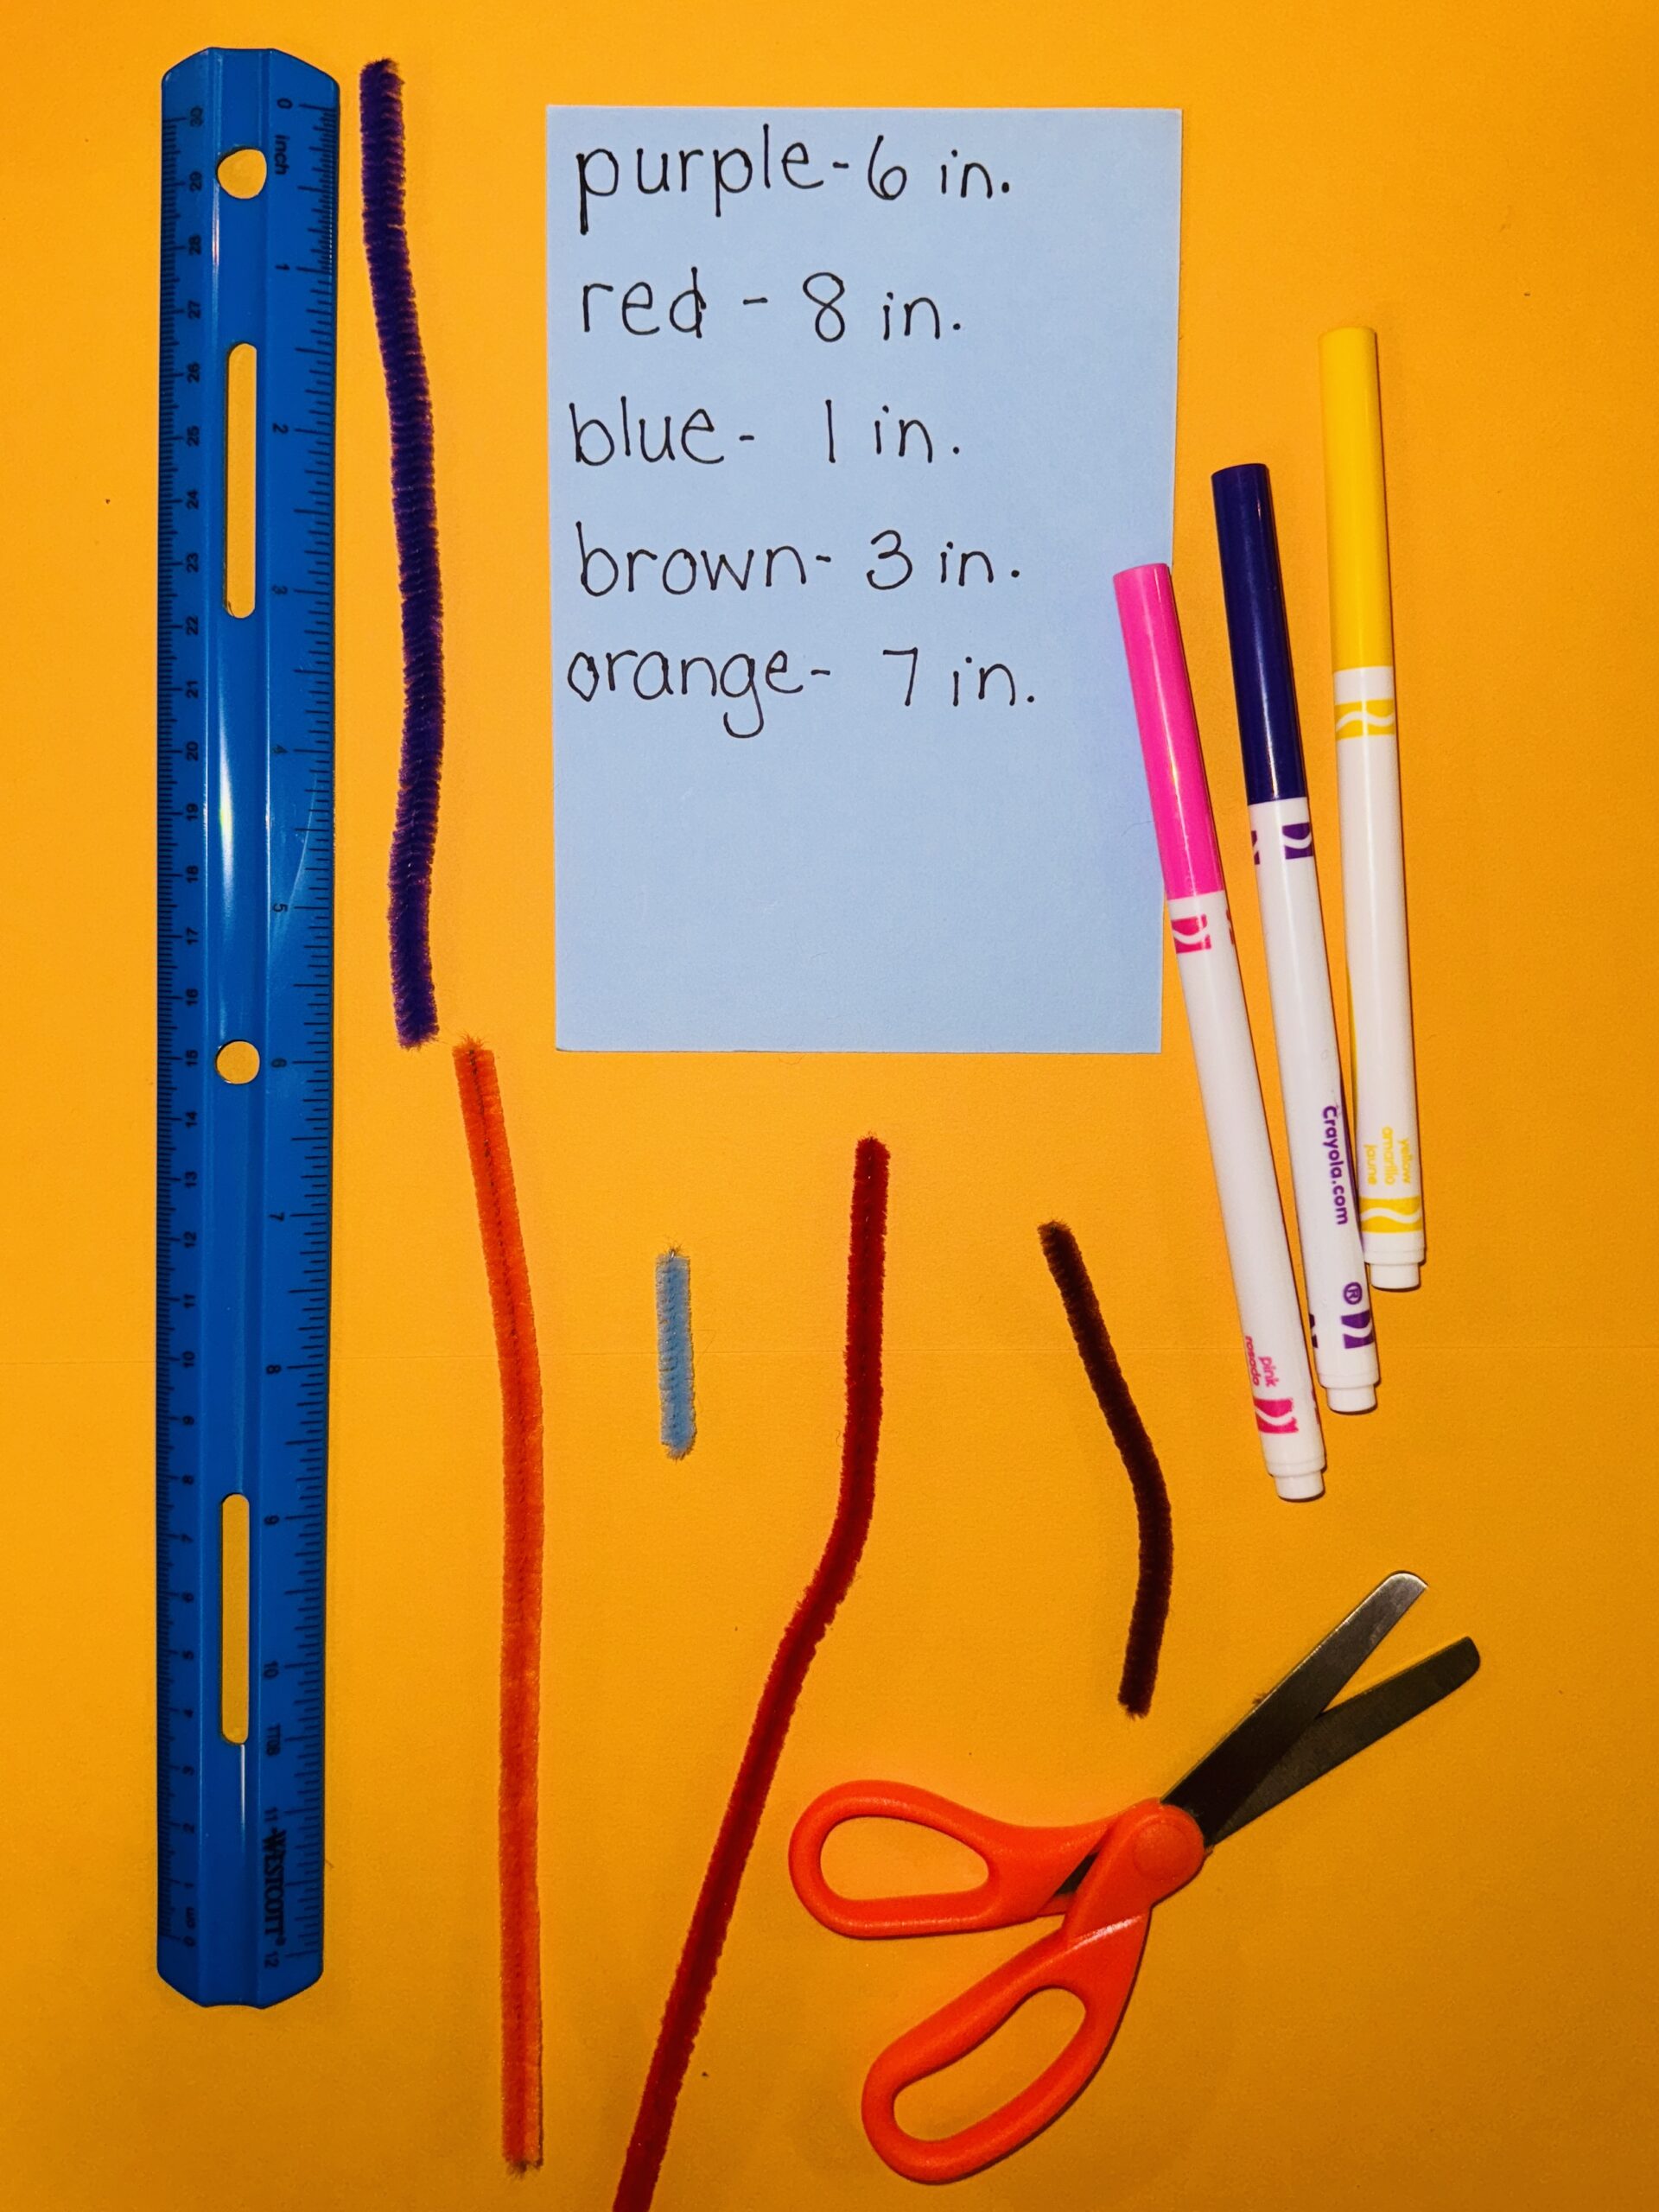
Get a package of different-colored pipe cleaners and cut them into various lengths. Demonstrate to students how you measure the length of one using a ruler. Emphasize lining up the end of the ruler with the end of the pipe cleaner. Then give each student four or five pipe cleaner snips, a ruler, and a piece of paper. Have them measure each strip, write what color it is, and write how many inches long it is. Talk about which color was shortest, longest, longer than a certain color, and other questions that use comparative language.
26. Elapsed-time experiments
Measuring elapsed time is a very useful skill for kids and adults. A good way to introduce this is to have students do a simple task while you time them. For example, ask them to stand on one foot for as long as they can or say the alphabet. This begins to help them develop a concept of how long units of time are. Ask them to be perfectly quiet for one full minute or to read a book for 30 minutes. Then let them use simple stopwatches to time other activities and record the results.
27. Circumference and yarn
Introduce circumference by first trying to measure around an apple with a ruler. This does not work so well. Then show students how you can use yarn to measure around the apple and then measure the yarn with the ruler. Try it with an orange. Try it with a grape. Let students try it out with small balls like a golf ball, tennis ball, plastic bowling ball, baseball, and such. Have them record their results and compare them.

